Installing a security camera is an effective and dependable way to improve the safety of your home or business. The thought of handling your own security installation may seem daunting at first, but anyone can accomplish it if they adhere to some basic guidelines. When you’re ready, take some time to think through the entire installation process, gather your tools, and give yourself plenty of time, and you will have your system installed in no time. Both wired and wireless security camera systems can provide continuous monitoring and hopefully some peace of mind. Step-by-Step will guide you through every step of the installation, from a site survey to testing and everything in between.
Take Charge Of Your Safety — Step-By-Step Camera Installation Guide
At Complete Protection Solutions, we understand that having a sense of security is important. Our complete guide for setting up cameras will help make the installation process easy and realistic for any experience level.
Simply follow the steps below to help boost your security, keep your family safe, and feel more comfortable—with a user-friendly installation process and professional support:
Step 1: Plan your locations
Next, take the time to identify which areas you want to monitor. The areas can include places such as entrances, blind spots, or driveways. Utilizing a vantage point is key to making sure you cover as much area as possible and avoid tampering when possible. If you’re going with a wi-fi system, also make sure that your locations provide a strong wi-fi range.
Step 2: Gather equipment and tools
Before getting started, make sure that all tools and equipment are gathered. The tools you’ll want ready before are your camera system, mounting brackets, screws, drill, and any cabling your cameras need. If you went wireless, have your companion app ready. If you went with the DVR or NVR option, you will want to know where the recorder is located.
Step 3: Test and configure the system
As you start, it is best to test your system before mounting anything. For the wireless camera, use the app with your wi-fi network, and use the app to walk through the initial setup. For the wired system, attach the cameras to the recorder while you attach a monitor and check the live feeds.
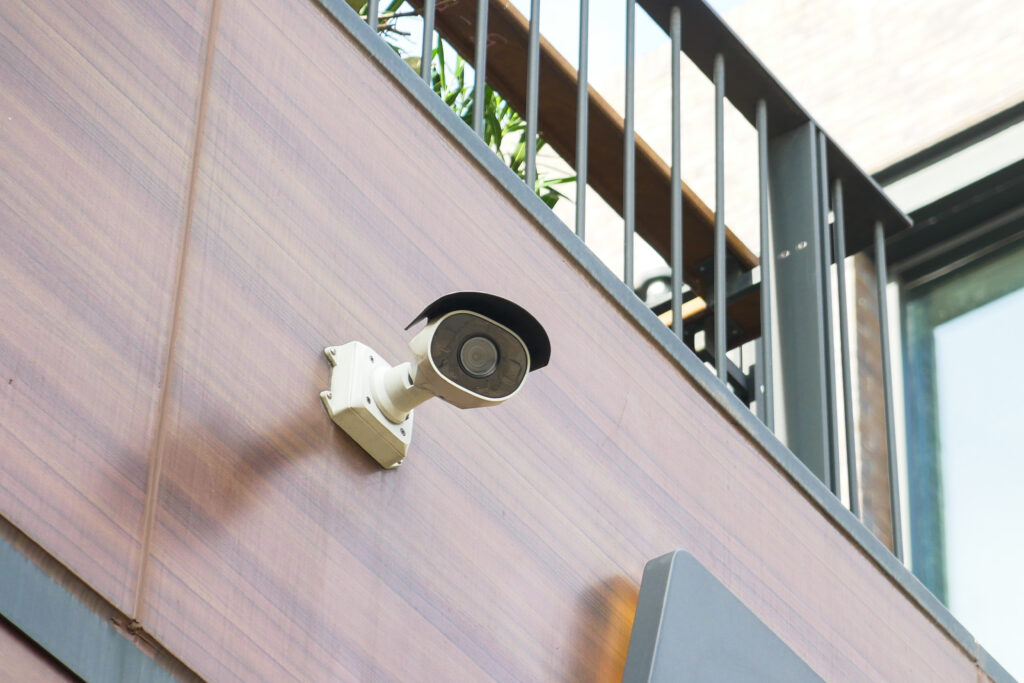
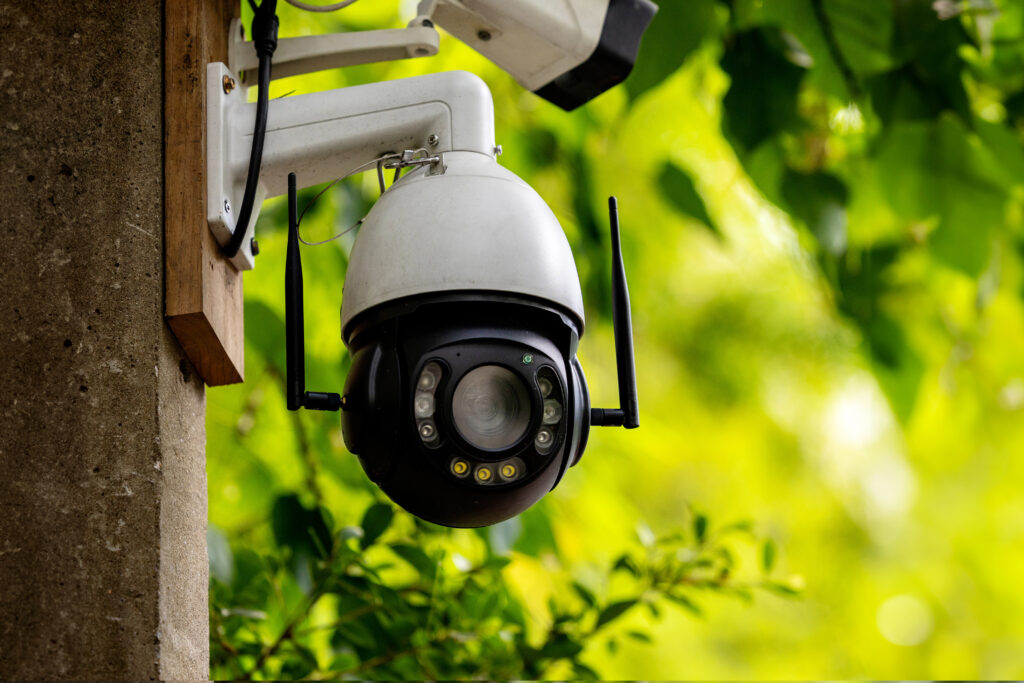
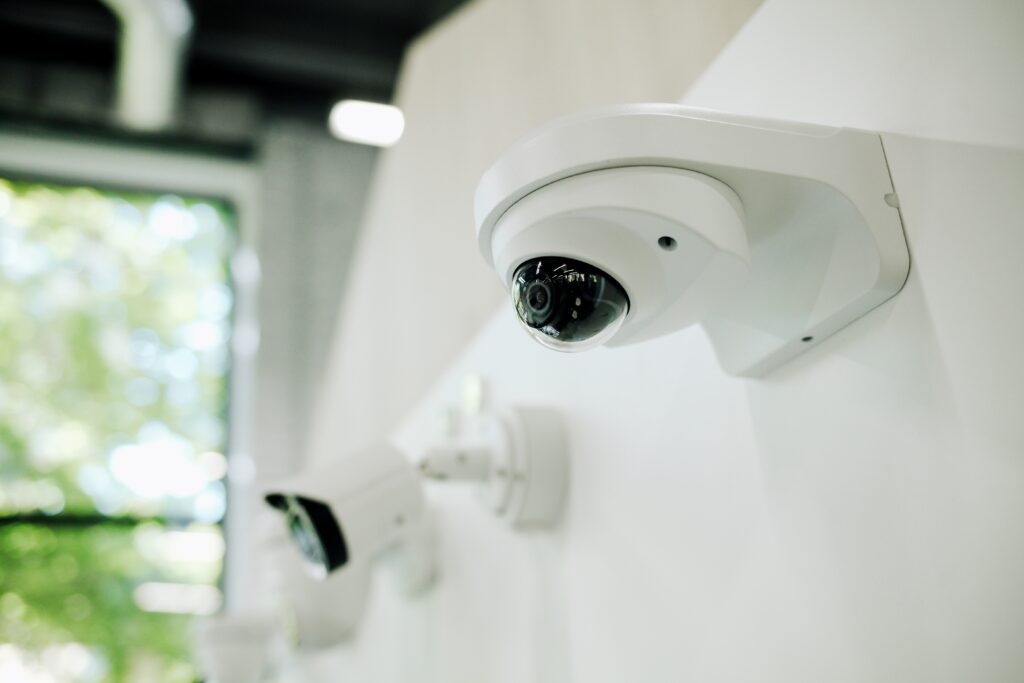
Step 4: Mount the cameras securely
Fasten each camera to its intended location with the included mounting brackets and a drill. Be sure to look at each camera to ensure they are placed to see its intended area to perform the surveillance you need. Secure installation is critical to performance, so fully tighten the screws and ensure stability. The proper angle of each camera is proven to increase surveillance effectiveness and provide optimum security coverage for your home or business.
Step 5: Run the necessary cables
Carefully run cables from every camera to the central DVR or NVR when setting up a wired system. Use clips, conduits, or trunking for neatness and protection, and plan cable routes to avoid hot, humid, or high-traffic areas. Cables can be protected from harm and kept looking neat by being hidden along walls or ceilings.
Step 6: Complete the connections
Once the cameras have been mounted firmly, plug each one into its power supply and place the video cables into the appropriate DVR or NVR ports. Connect the DVR/NVR to your router via an Ethernet cable for remote access. To keep your setup tidy and damage-free, carefully inspect all connections for stability and arrange the cables.
Step 7: Finalize and test the system
Turn on the entire system, then check the video feeds on your smartphone app or monitor. Make any last-minute changes to the software settings or camera angles to make sure everything is operating as it should and offering the appropriate level of security coverage.
Conclusion
Installing a security camera system is a step toward the goal of keeping your home or business secure. Once it is planned and in place, it can improve the level of safety and provide valuable peace of mind. By following the step-by-step instructions in this guide, you can help ensure that your cameras are installed in the best locations, connected securely, and operational. Make sure to check your system frequently and keep all the software updated to maintain the highest level of security. With your cameras installed, you will be better prepared to deter unwanted activity and hopefully protect what matters to you most.
FAQs
Q. Where should I place my security cameras?
Focus on entry points (doors, windows), garages, driveways, and isolated or blind spots. Outdoor cameras should be placed high enough to avoid tampering.
Q. Can I install security cameras myself?
Most security camera kits are designed for DIY installation, especially for wiring.
Q. How do I keep my security camera footage secure?
Use strong, unique passwords for your camera system and Wi-Fi network. Regularly update firmware and limit access to authorized users only.
Q. Which security camera is best for homes and businesses?
Wireless smart cameras are great for easy setup and mobile access, while wired DVR/NVR systems work best for larger spaces. For outdoor areas, choose weatherproof cameras with night vision to handle changing weather.
Q. Should I hire a professional to install my security cameras?
DIY installation works well for most home systems, but hiring a local Virginia installer ensures expert placement, secure wiring, and smooth performance for complex or commercial setups.